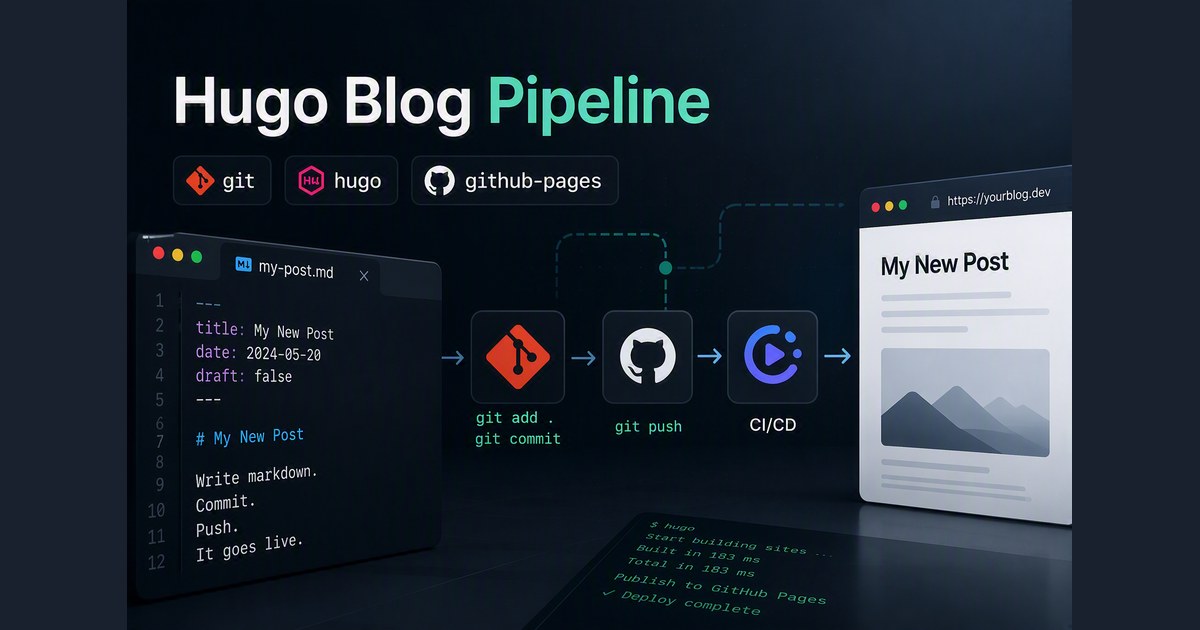
I got tired of WordPress. Not because it crashed or ran slow — it worked fine — but because every time I sat down to write, I was fighting the editor instead of writing. The block system turns a simple paragraph into a drag-and-drop puzzle. I wanted a blogging pipeline where I write a markdown file, push it to git, and the post goes live. That is it. No block picker, no sidebar toggles, no plugin updates, no database.
Hugo gives you exactly that. You write a .md file, commit, push, and your CI/CD pipeline builds and publishes the site automatically. The entire workflow lives in your terminal and text editor — the same tools you already use for code. No browser tab open to a CMS, no context switching.
Here is the complete blueprint to set up a clean, zero-maintenance Hugo tech blog from scratch.
Step 1: Get the Standalone Binary
On Linux under WSL, standard package managers pull in a massive chain of Go dependencies. Skip that. Grab the prebuilt binary directly from the official GitHub releases page.
Extract the tarball, and drop the single executable into your workspace. Verify it by running:
./hugo version
You will see output confirming the version and environment. No runtime overhead, no background services.
Step 2: Initialize the Site
Navigate to your workspace terminal and create a new site structure:
./hugo new site my-tech-blog
cd my-tech-blog
git init
Step 3: Add a Minimal Theme
A tech blog needs a clean layout. PaperMod is fast, minimal, and stays out of your way. Add it as a git submodule:
git submodule add https://github.com/adityatelange/hugo-PaperMod.git themes/papermod
Next, open or create your hugo.toml file in the root directory and paste the configuration (update the baseURL depending on which platform you choose to deploy to):
baseURL = 'https://yourusername.github.io/your-repo/'
defaultContentLanguage = 'en'
title = 'My Tech Blog'
theme = 'papermod'

[params]
  env = "production"
  title = "My Tech Blog"
  description = "Minimal tech notes and code snippets"
  author = "Me"
  showReadingTime = true
  showShareButtons = true
  showPostNavLinks = true

[outputs]
  home = [ "HTML", "RSS", "JSON"]
Note: Hugo v0.158+ deprecated
languageCode. UsedefaultContentLanguageinstead.
Step 4: Write Content & Choose Your Image Handling Strategy
As you accumulate technical notes, organizing your posts and handling images properly matters. In Hugo, you can structure your posts using one of two approaches: Page Bundles or Single Markdown Files.
Option A: Page Bundles (Recommended)
A page bundle keeps your markdown file and all its corresponding images bundled together inside a dedicated folder.
- Use Hugo’s built-in command to generate your post bundle:
../hugo new content/posts/2026/08/10/my-new-post/index.md
- Drop your images (like
diagram.png) directly into that same folder. - Reference them using a clean, portable relative path inside your
index.md:

Option B: Single Markdown Files + Static Folder
If you prefer a flat structure where each post is just a single .md file, you must place your images in the global static/ directory.
- Place your image in the static folder:
mkdir -p static/images/
mv banner.png static/images/
- Reference the image using Hugo’s
relURLfunction in an HTML tag so it correctly respects repository subpaths:
<img src="{{ "images/banner.png" | relURL }}" alt="banner">
(Note: Ensure you remove any duplicate # Title headings from your markdown body text, as Hugo automatically renders the title from your front matter metadata).
Step 5: Publish Your Post
Hugo’s hugo new command creates posts with draft = true in the front matter by default. Draft posts are not included in production builds. Before deploying, make sure your post’s front matter has:
draft = false
To test locally including drafts, run:
../hugo server -D
The -D flag renders drafts for local preview only. Your CI/CD pipeline runs hugo --minify without -D, so any post still marked draft = true will be invisible on the live site.
Open http://localhost:1313/ in your browser. The server watches for changes in real time. When you save a markdown file, the page updates instantly.
Step 6: Configure .gitignore
To ensure you only push your source files while excluding local caches and generated HTML outputs, create a .gitignore file in your root directory containing:
/public/
/resources/
.hugo_build.lock
Step 7: Choose Your Hosting Platform & Automate via CI/CD
You do not need to compile HTML locally and push built files to git. Let the cloud platform handle the build on every push. Choose your preferred CI/CD setup below.
Option A: GitHub Actions
Create a workflow file at .github/workflows/hugo.yml:
name: Deploy Hugo site to GitHub Pages

on:
  push:
    branches:
      - main

permissions:
  contents: write
  pages: write
  id-token: write

concurrency:
  group: "pages"
  cancel-in-progress: false

jobs:
  build:
    runs-on: ubuntu-latest
    steps:
      - name: Checkout
        uses: actions/checkout@v4
        with:
          submodules: recursive
      - name: Setup Hugo
        uses: peaceiris/actions-hugo@v3
        with:
          hugo-version: 'latest'
          extended: true
      - name: Build
        run: hugo --minify --baseURL "https://yourusername.github.io/your-repo/"
      - name: Upload artifact
        uses: actions/upload-pages-artifact@v3
        with:
          path: ./public

  deploy:
    environment:
      name: github-pages
      url: ${{ steps.deployment.outputs.page_url }}
    runs-on: ubuntu-latest
    needs: build
    steps:
      - name: Deploy to GitHub Pages
        id: deployment
        uses: actions/deploy-pages@v4
Important: In your GitHub repo settings, go to Settings → Pages and change the Source dropdown to “GitHub Actions”. It saves automatically when you select it — there is no Save button.
Option B: GitLab CI/CD
Create a pipeline file at .gitlab-ci.yml in your root directory:
default:
  image: alpine:latest

stages:
  - build
  - deploy

pages:
  stage: deploy
  script:
    - apk add --no-cache hugo git
    - hugo --minify --baseURL "https://yourusername.gitlab.io/your-repo"
  artifacts:
    paths:
      - public
  rules:
    - if: '$CI_COMMIT_BRANCH == "main"'
Final Step: Push to Repository
A common pitfall when connecting a local Hugo project to a new GitHub repo is ending up with diverged histories. This happens when you create the GitHub repo with a README or license (which creates an initial commit on the remote), then separately run git init locally and commit. The two histories are unrelated and git refuses to push.
Recommended approach — empty remote (cleanest):
When creating the repo on GitHub, uncheck “Add a README file”, set .gitignore to “None”, and License to “None”. GitHub will show the “push an existing repository” instructions, confirming the remote has zero commits. Then locally:
hugo new site tech-blog
cd tech-blog
git init
git add .
git commit -m "Initial Hugo setup"
git remote add origin git@github.com:yourusername/your-repo.git
git branch -M main
git push -u origin main
No rebase needed, no unrelated histories, no conflicts.
Alternative — if you initialized the remote with a README/license:
If the GitHub repo already has commits (README, LICENSE, etc.), adopt the remote history before committing your files:
hugo new site tech-blog
cd tech-blog
git init
git remote add origin git@github.com:yourusername/your-repo.git
git fetch origin
git reset --mixed origin/main
git add .
git commit -m "Initial Hugo setup"
git branch -M main
git push -u origin main
This grafts your local files onto the remote’s existing commit cleanly.
If you already pushed and got rejected with non-fast-forward, fix it with:
git pull origin main --rebase --allow-unrelated-histories
git push origin main
For GitLab, the same principles apply — just swap the remote URL:
git remote add origin git@gitlab.com:yourusername/your-repo.git
git push -u origin main
Enable Pages in your repository settings (on GitHub, set the source to GitHub Actions; on GitLab, ensure project visibility is Public). From then on, every push automatically triggers a cloud build and updates your live site. Moving away from heavy CMS platforms means your writing process finally becomes just writing.